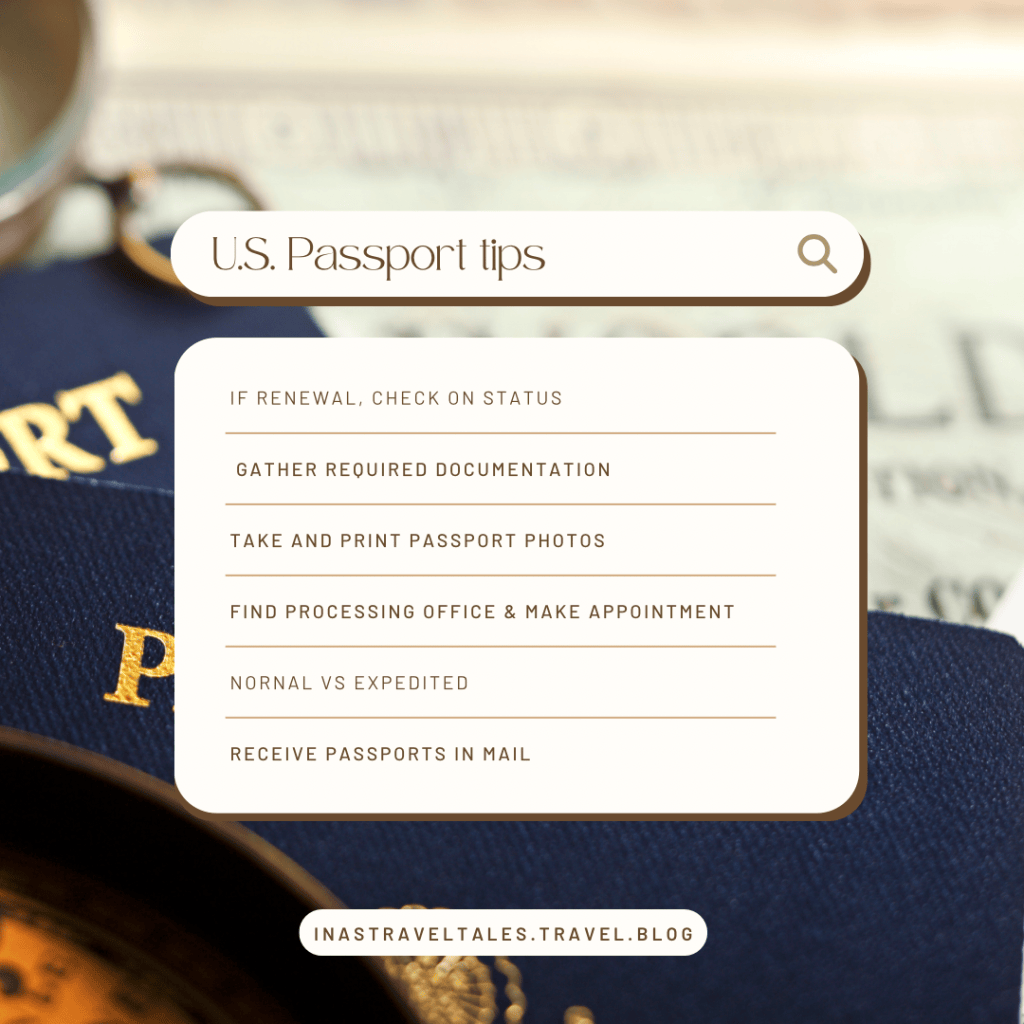
Traveling out of the U.S. to international destinations is always exciting, but before you can jet off to that tropical beach or charming European city, there’s one crucial thing you’ll need your passport! While getting a passport may seem like a daunting process, a little planning and preparation can make it much smoother. Here’s how to navigate the steps, avoid common pitfalls, and ensure you’re all set for your next big adventure.
Step 1: Check Your Passport Status
If you already have a passport, the first thing to do is check the expiration date. Many countries require your passport to be valid for at least six months after your planned return date, so make sure you’ve got plenty of time left on it.
If you don’t have a passport yet, or if yours is expired, no worries! You’ll just need to follow these steps to get one before your trip.
Step 2: Gather Your Documents
Getting a passport requires a bit of paperwork, so gather everything you need before heading out:
Proof of U.S. citizenship (Birth certificate, previous passport)
Proof of identity (Government issued ID or Drivers License
Make sure to bring original documents, as well as photocopies of your proof of citizenship and identity. Fill out the Passport application form and bring it to the office.
Step 3: Get Your Passport Photos
Passport photos have specific requirements, so it’s best to get them taken by a professional. You can swing by your local Walgreens, or another drugstore with photo center to get passport photos taken ahead of time.
Pro tip: Walgreens Passport app to take a passport approved photo ahead of time and send to get printed, if you want to speed up the process.
Step 4: Find Your Passport Office
Once you’ve got your paperwork and photos ready, you’ll need to submit them at an official passport acceptance facility. These can be post offices, libraries, or local government offices. You can use the State Department’s Passport Office Locator tool to find a convenient location near you.
Many places require appointments, but some accept walk-ins. It’s always a good idea to check ahead to see if they have walk-in hours or if you need to book a time slot.
Step 5: Timing is Everything: Regular vs. Expedited
If your trip is a few months away, standard passport processing should work fine. Regular processing typically takes about 10 to 13 weeks. But if you’re cutting it close to your departure date, you’ll want to consider paying for expedited processing.
Expedited service costs an additional $60 and typically speeds up the process to 7 to 9 weeks. If you’re traveling in less than five weeks, you might need urgent processing at a passport agency, which can issue a passport in as little as 72 hours for urgent travel needs.
Step 6: Plan for the Future
Once you have your passport, make a habit of keeping it in a safe but accessible place. Take note of the expiration date so you don’t have any last-minute surprises when planning future trips. It’s also a good idea to keep digital copies of your passport in case of an emergency while traveling.
Bonus Tips: Traveling with kids? Both parents must be present in person for a minors application.
With a little preparation and organization, navigating the passport process is totally doable and it’s your golden ticket to exploring new corners of the world. Whether you’re heading to tropical beaches, bustling cities, or serene countryside escapes, having your passport ready ensures your adventure can begin stress-free. Happy travels!


Leave a Reply